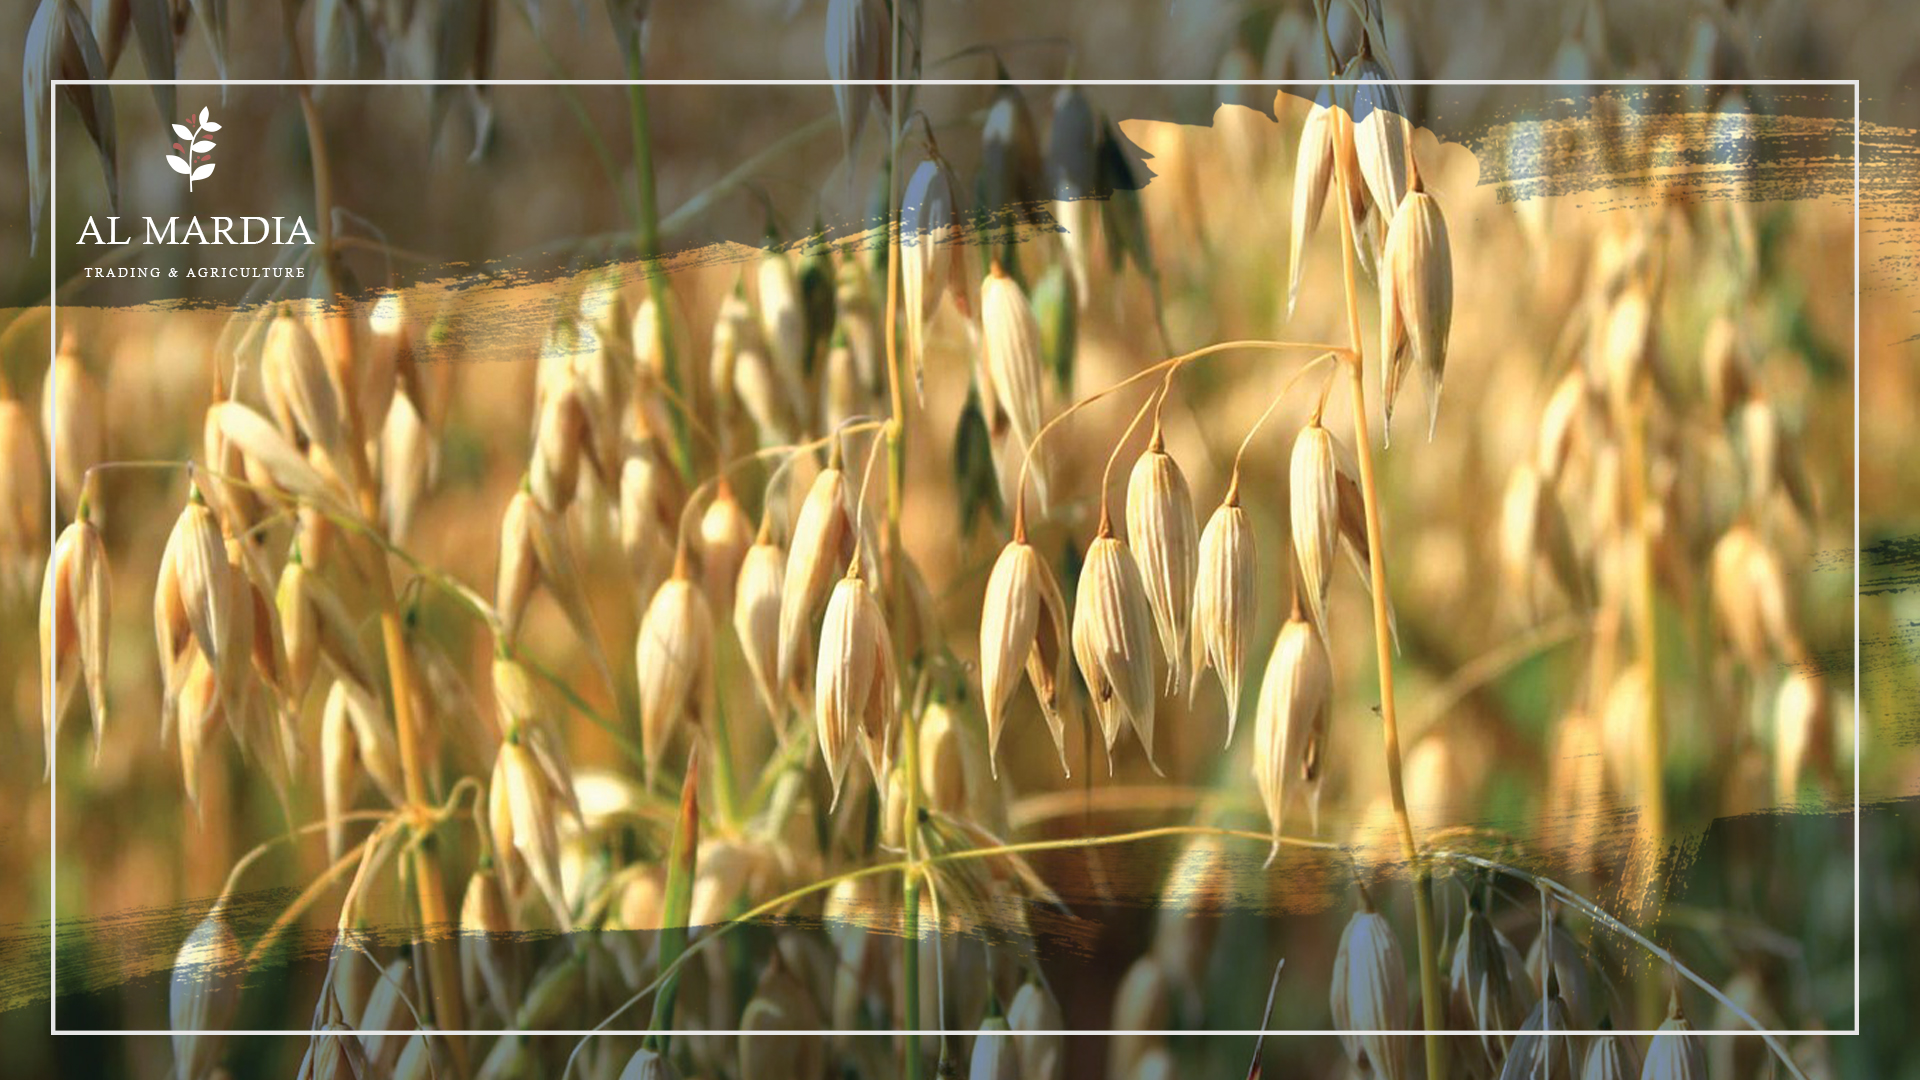
Grow Oats at Home
Oats are a nutritious and delicious breakfast option, but did you know that you can grow your own oats for food in your own home garden? Growing oats is no more difficult than growing any other type of grain. Some people say that planting oats is similar to grass, but the only difference is that you don’t mow down the seed heads; instead, you consume them! From understanding what kind of soil works best to harvesting the grains, this guide will help you get started on this rewarding adventure.
Oats can come in various forms such as crushed, rolled, or ground for flour. They can even be used for brewing beer. Going back to our main topic of discussion, let us concentrate on growing oats in home gardens.
What Are the Benefits of Growing Oats at Home?
Growing oats at home are becoming increasingly popular due to the numerous health benefits it offers. Oats are an incredibly nutritious grain, packed with fiber, protein, and essential vitamins and minerals. Home-grown oats can be used in a variety of dishes, from porridge to granola bars and baked goods. Not only does growing oats at home provide a great source of nutrition for your family, but it also offers other benefits such as cost savings and environmental sustainability.
Planting and Caring for Your Own Oats
Growing your own oats can be a rewarding experience. It is a great way to be self-sufficient, and it allows you to enjoy the taste of freshly harvested oats right in your own home. Here are some essential tips:
- For successful outdoor sowing, select an area that is exposed to adequate sunlight and has soils that are able to drain easily. Scatter the seeds in a uniform manner over the tilled land for optimum growth.
- Once the seeds have been evenly distributed, use a rake to gently cover them with approximately 2.5 cm of soil. Doing so helps prevent birds from eating them before they can sprout.
- After sowing oat seed, it is important to keep the area moist for it to germinate. Additionally, provide adequate irrigation as they start to grow since oats require more moisture than other grains.
- Looking after backyard oat fields does not involve a lot of effort. There is typically no requirement for weeding, and the density of the plants would make it an ineffective process even if attempted.
- After 45 days, the green kernels of the grain stalks will begin to transition to a cream color and the oats will reach between 2 to 5 feet (0.6 to 1.5 m.) in height.
Harvesting Oats:
- Don’t delay harvesting until the kernels become hard, or else you will likely lose a significant amount of grain. At this stage, the kernels should be soft and easily indented when pressed with a fingernail.
- For reaping oats, it is best to cut the seed heads from the stalks as close to the top as feasible. This is because there will be less straw while threshing the grains.
- After harvesting oats, it is important to give them time to cure. Depending on climate conditions, this curing process may take anywhere from several days to weeks. Store the oats in a warm and dry place while they are being cured.
- Once the oats have matured, they can be separated from the stalks. Lay out a tarp or large cloth and use it to help remove the oats – you could either stomp on them with your feet or manually shake them off. To keep the oats undamaged, you should cover them before beginning to thresh. You can also use tools such as a plastic baseball bat.
- After the oats have been separated from the leftover stalks, they should be placed in a bowl or bucket. Then, you should toss them into the air and let the wind blow away the chaff while heavier oats fall back into their container.
- Threshed oats can be kept in an air-tight container in a cool and dark area for a maximum period of three months.
Oats Common diseases:
-
Halo blight
It is a fungal disease that affects oats, causing serious damage to crop yields. It is caused by the fungus Pyrenophora teres, which infects the stems and leaves of oat plants. The symptoms of halo blight are distinctive and include yellow or brown discoloration on leaf blades, as well as small black lesions on stems and heads. If left untreated, halo blight can lead to significant yield losses in oat crops. Therefore, it is important for farmers to be aware of this disease and take measures to protect their crops from it. It’s always preferred to use bio fungicides as a sustainable procedure. See Multi-Bio.
-
Crown rust
Crown rust is a common disease found in oats caused by the fungus Puccinia coronata avenae. This disease affects the leaves of oat plants and can cause severe damage to crops if left untreated. Symptoms of crown rust include yellow-orange pustules on the underside of leaves, which can lead to leaf discoloration and death. The amount and severity of the infection vary depending on environmental conditions, but it is important for farmers to be aware of this disease in order to take preventive measures against it.
In conclusion, homegrown oats can be a great way to add a nutritious, delicious, and sustainable addition to your diet. With the right tips and tricks, you can maximize the benefits of your harvest and enjoy its rewards.
Related Topic
Get an Organic Green Lawn
Common Questions:
How long does it take to grow oats?
Oats generally require 60 days of growth from germination to reach the boot stage. In the case of oats sowed in summer, maturation may be slowed down as days shorten in autumn and thus can take an additional 10 days to prepare for harvest. Oats planted on 1st August usually become ready to harvest by early October.
Where do oats grow best?
Oats perform best in wooded soil zones of black and grey hue with suitable moisture content. Nonetheless, they can also thrive on sandy loam to heavy clay soils provided that these have excellent drainage systems in place.
Do oats grow easily?
Oats are an easy crop to cultivate and have high nutrient value, being a healthy food source. However, they do require certain care in order to yield a successful harvest.

