Boost Your Garden’s Health With Soil Solarization
Looking to maximize the potential of your garden? Give soil solarization a go! It’s an accessible and natural way to revitalize the soil and improve your harvest’s yield. Not to mention, it requires minimal effort!
Gardening is a great way to get in touch with nature and enjoy the beauty of the outdoors. But it can be challenging to get the most out of your garden. Soil solarization is the perfect choice for gardeners who want to maximize their crop yields and ensure that their soil is in top condition. It’s an effective, simple solution with great results.
What is Soil Solarization and How Does it Work?
Soil solarization is an organic gardening technique that uses the sun’s energy to heat soil in order to increase its fertility and reduce the number of pests, weeds, and diseases. It is a simple yet effective way to improve soil health without the use of synthetic fertilizers or pesticides. The process involves covering moist soil with clear plastic sheets that trap the sun’s energy, thus heating up the soil and killing off any harmful organisms living in it. This method has been proven to be safe for both humans and animals while providing a great way to maximize crop yields.
Benefits of Soil Solarization
Soil solarization is an eco-friendly way to improve your soil’s health and create a better environment for your plants. By placing plastic over the soil and exposing it to the sun, you can heat and sterilize it, making it safer for your garden.
This method has several benefits:
-
Reduced weed and pest growth
Heating the soil is an effective way to eliminate harmful pathogens, weed seeds, and other pests in your garden. This can drastically reduce the number of weeds and pests so that you can cultivate a healthy garden.
-
More nutrients in the soil
Sterilizing and heating the soil can actually be beneficial for your plants as it releases nutrients into the ground that help to make them heartier and stronger.
-
Better water retention
Solarization can boost the water retention capability of the soil, thus reducing the need for frequent watering. This also helps to ensure that your soil won’t lose moisture quickly.
Practicing regular soil solarization each season is a great way to maintain the health of your garden soil throughout the year!
Soil Solarization Basics
It is a simple process widely used in modern agriculture to increase crop yield. Here’s the basic process:
- Prepare your garden area by removing debris, tilling, and raking the surface so that you have a flat field with no clumps or rocks.
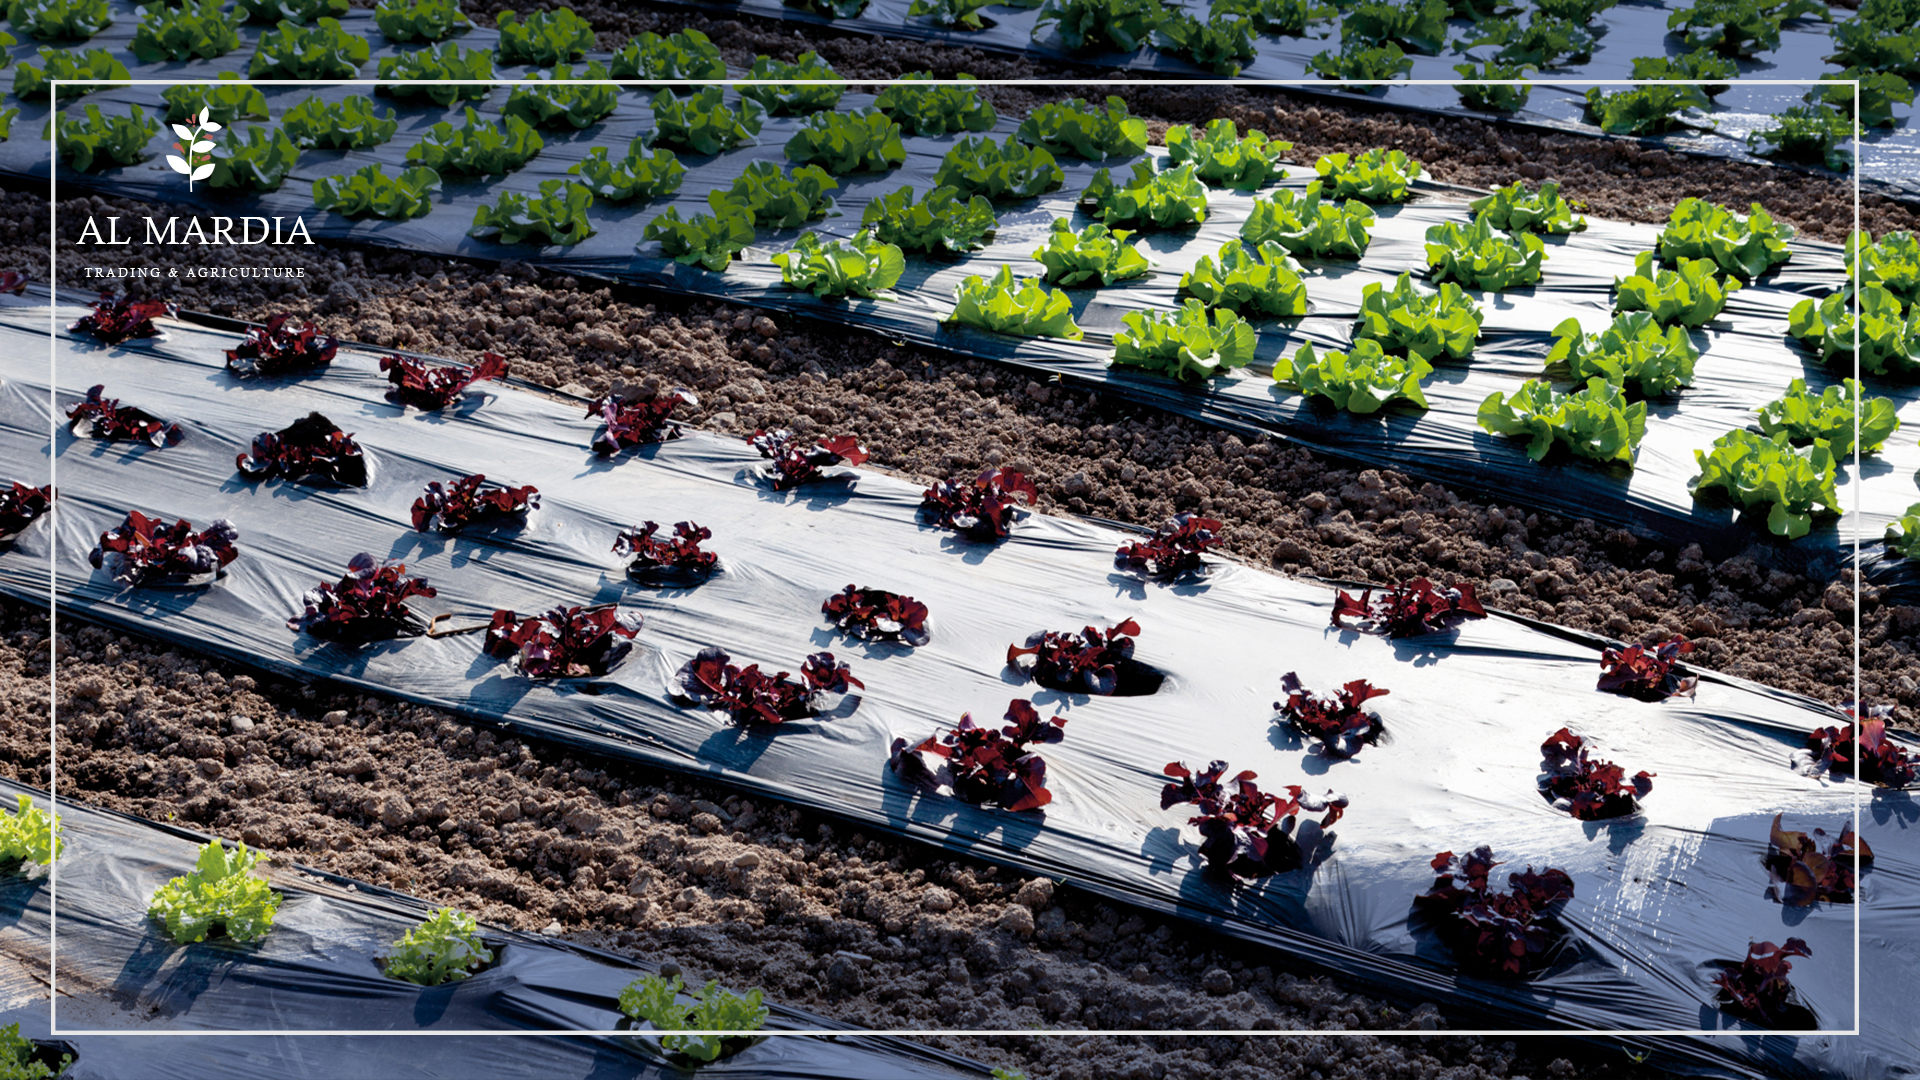
- Cover the field with clear plastic sheeting that has been cut to fit the area.
- Make sure to securely seal all edges of the plastic sheeting with weights or soil.
- Leave it covered for 4-8 weeks during summer or spring months when temperatures are higher so that the sun can do its work!
- After this period, remove and discard the plastic sheet covering and wait for about 14 days before planting any crops on your treated soil for optimal results!
Soil solarization works best when combined with other cultural practices such as crop rotation and using organic fertilizers like compost or manure, which will help boost nutrient levels in your soil further improving crop yields! So, if you’re looking for a natural way of boosting your garden’s health without using chemicals, give soil solarization a try!
Preparing the Soil for Solarization
Soil solarization is a great way to boost your garden’s health, but before you can start it, you need to make sure your soil is prepared properly. Here are the steps you should take:
Loosen the Soil
The first step is to loosen the soil so that it can absorb heat from the sun more easily. This will also help with aeration, and make sure that there’s good drainage for your plants. Loosening the soil is not only important for solarization but also for any type of gardening in general.
Add Compost or Manure
You’ll also want to add compost or manure to the soil before you solarize it, such as Add Life, as they will provide additional nutrients and help with drainage. This can be done before or after you loosen the soil, whichever works best for you.
Remove Weeds and Other Debris
Finally, it’s important that you remove any weeds or other debris from your soil before you start solarizing it. This will help ensure that there isn’t anything blocking the sun from reaching your soil and ensuring optimal solarization results.
What to Plant After Solarization
- So, you’ve solarized your garden and now you’re ready to start planting. But what should you plant? Well, that depends on what kind of garden you have!
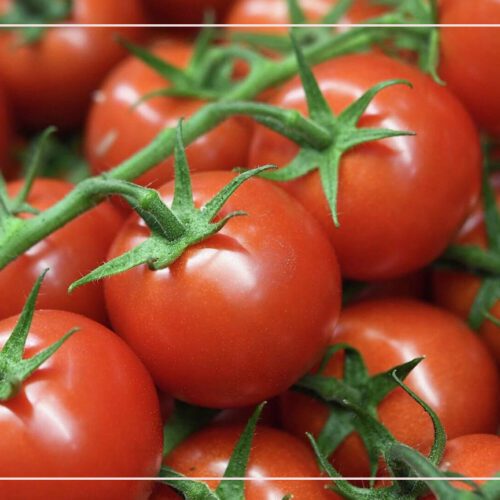
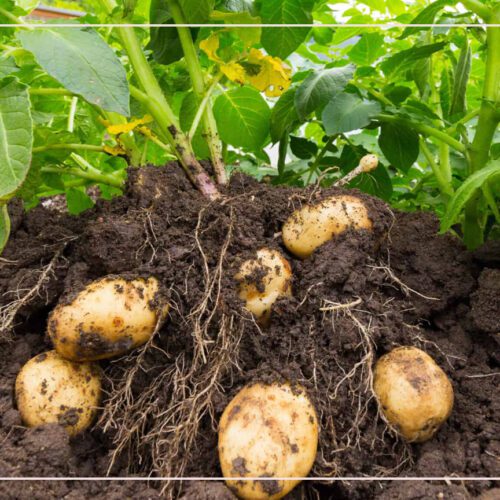
- If you have a vegetable garden, there are some great options for veggies that do well after soil solarization: tomatoes, eggplants, peppers, squash, and cucumber are all good choices.
- For flower gardens, annuals such as petunias, verbena, and marigolds are a great pick. For perennials, consider the glorious black-eyed Susan or coneflower. These plants thrive after soil solarization and they’ll bring some bright colors to your garden while they’re at it!
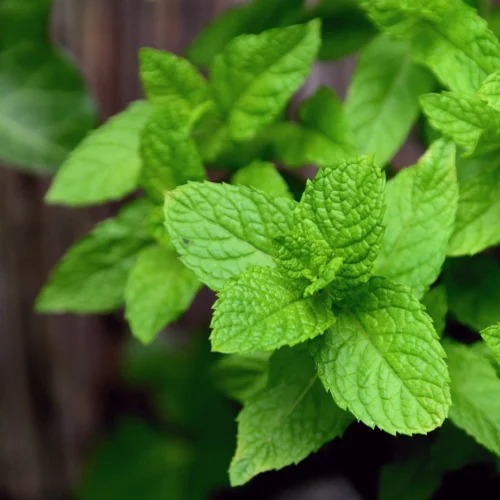
- Don’t neglect herbs either! Basil and rosemary are two beloved herbs that pair perfectly with soil solarization.
- Adding plants is also a great way to add nutrients back into your soil through composting. Planting vegetables like tomatoes or peppers allows you to harvest the fruits or vegetables themselves at the end of the season, but their roots also add organic matter to the soil as they grow and break down. Adding flowers gives your garden an instant boost of color and can attract pollinators too!
In conclusion, soil solarization is a great way to help create and maintain a healthy garden. By utilizing the sun’s heat and light, you can improve your soil, resulting in healthier plants. It’s a simple and natural process that you can do yourself with minimal effort and cost.
Related topic
Soil Organic Matter
Common Questions
-
What is the importance of soil solarization?
Solarization is an ecological approach to managing pests without using any harmful chemicals. It can be used as a pre-planting method to control pathogens such as bacteria, fungi, nematodes, insects, and wild plants, thus keeping the soil healthy and fertile.
-
What are the negatives of solarization?
Soil solarization is a great technique for disinfesting the soil, however, it does have some drawbacks. This process requires a long amount of time and is heavily reliant on climatic energy for successful completion. Plus, plastic residues may be left behind after treatment which can be harmful to the environment.
-
How long does soil solarization last?
The solarization process can last anywhere from 4 to 8 weeks, depending on the depth of the soil. The temperature in the soil 18 inches deep can reach up to 98 degrees with temperatures of 108-131 degrees at 2″ deep and even up to 140 degrees at 6″ depth.